
How to Soak Off Acrylic Nails: The Safest Methods for At-Home Removal
Removing acrylics without a salon visit is possible, but doing it incorrectly causes significant damage to the natural nail plate. Learning how to soak off acrylic nails properly means understanding that patience is the main requirement. Rushing the process by peeling, prying, or forcing the product off breaks the layers of the natural nail, sometimes all the way down to the nail bed. Proper acrylic nails removal takes 30 to 45 minutes from start to finish and requires acetone, some basic supplies, and a careful hand.
Taking off acrylic nails at home is a reasonable choice when done with the right technique. Whether you are taking off acrylic nails that have grown out or need to remove damaged nails, the acetone soak method is safest for the underlying nail. Curious about whether how to remove acrylic nails with hot water actually works? This guide covers both that approach and the more reliable acetone method.
What You Need Before You Start
Gather 100 percent acetone, a glass or ceramic bowl, nail file or e-file, aluminum foil cut into strips or nail soak-off clips, cotton balls or pads, petroleum jelly or cuticle oil, and a nail buffer. Avoid plastic bowls as acetone can dissolve some plastics. Pure acetone from a hardware or beauty supply store works faster and more effectively than standard nail polish remover, which typically contains only 30 to 60 percent acetone.
The Acetone Soak Method Step by Step
Step 1: File Down the Surface
Using a coarse file or e-file, buff the shiny top coat and as much of the acrylic thickness as possible without touching the natural nail underneath. The more bulk you remove, the faster acetone penetrates the remaining product. Take your time here; this step reduces soaking time significantly.
Step 2: Protect the Surrounding Skin
Apply petroleum jelly or thick cuticle oil around each nail and onto the surrounding skin. Acetone is very drying and will irritate skin with prolonged contact. This protective layer prevents excessive dryness without interfering with the removal process on the nail plate itself.
Step 3: Apply Acetone and Wrap
Soak small cotton pads in pure acetone, press them firmly over each nail, and wrap tightly with foil or secure with soak-off clips. This creates a sealed environment that concentrates the acetone against the product. Leave in place for 20 to 30 minutes without checking. Lifting the wraps early slows the process.
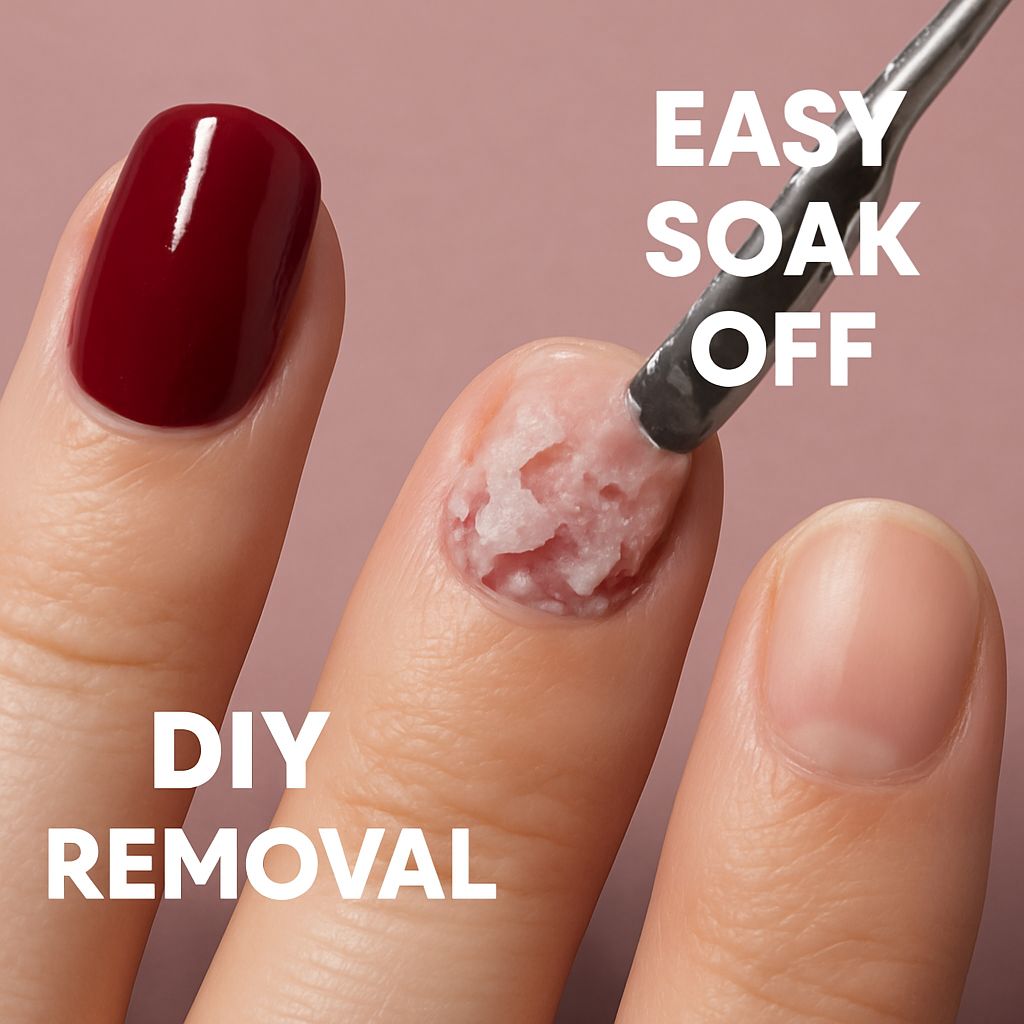
Step 4: Gently Remove Loosened Product
After soaking, use a cuticle pusher or orange stick to gently slide the softened acrylic off the nail. If any area feels resistance, rewrap with fresh acetone-soaked cotton and soak for another ten minutes. Never force any product that is not ready to release.
Does Hot Water Removal Work?
The method of soaking acrylic nails in warm or hot water is sometimes suggested as an acetone-free alternative. Hot water softens the adhesive somewhat and may loosen a nail that is already lifting at the edges, but it does not dissolve the acrylic polymer itself. Attempting removal this way typically results in cracking or prying the acrylic off rather than a controlled soak-off, which carries a real risk of nail plate damage. Use acetone for reliable results.
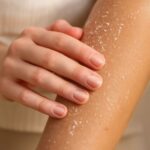
Post-Removal Nail Care
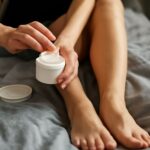
After removing acrylics, your natural nails may appear thin, white, or slightly ridged. Apply a strengthening base coat or keratin-based nail treatment immediately. Keep nails trimmed short to reduce stress on weakened nails. Massage cuticle oil into the nail and surrounding skin twice daily for at least two weeks. Avoid gel or acrylic reapplication for four to six weeks to allow the nail plate to recover fully.
Pro tips recap: File down as much product as possible before soaking to cut time and protect your natural nail. Pure acetone always outperforms diluted alternatives. Never peel or force loosened acrylic; rewrap and wait. Post-removal hydration with cuticle oil speeds nail recovery significantly.
Leave a Reply