
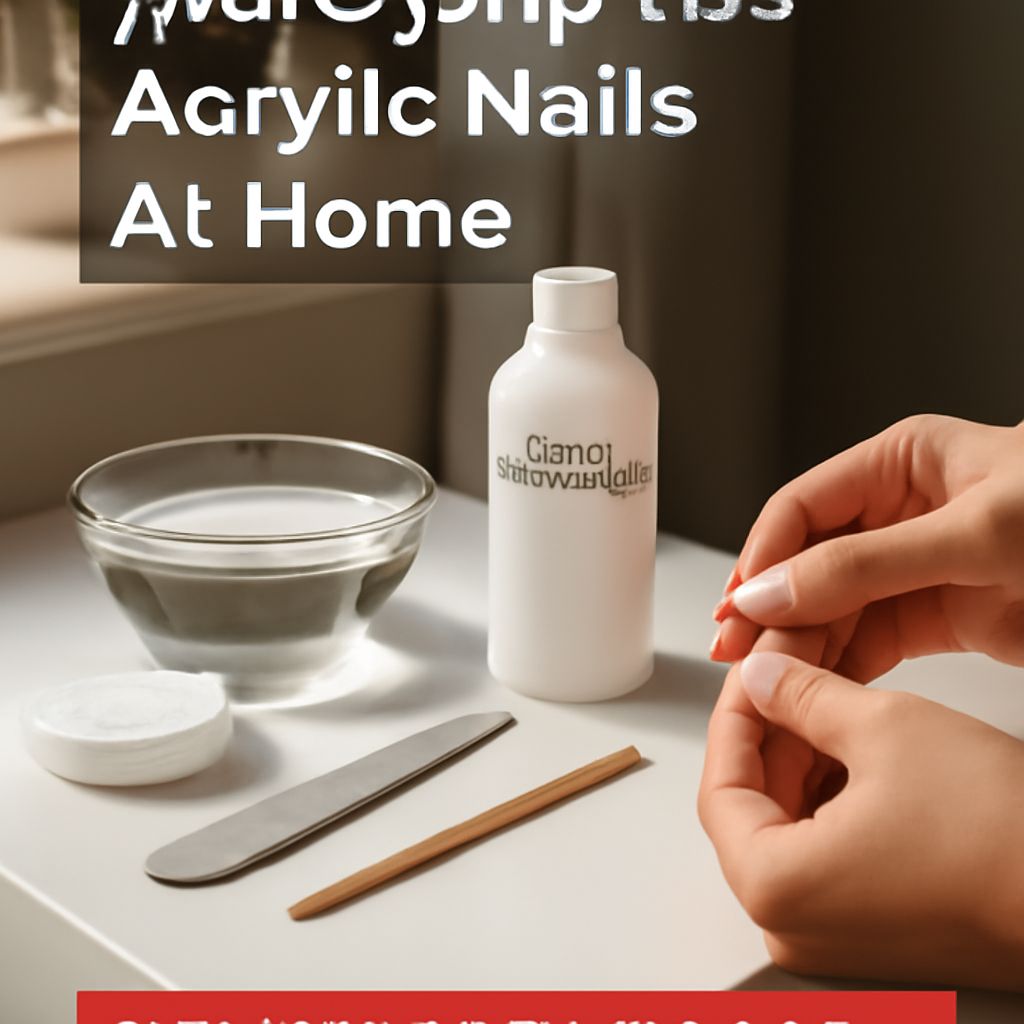
How to Get Acrylic Nails Off Safely at Home
Knowing how to get acrylic nails off without causing damage is a skill worth having. Pulling or prying acrylics off is the fastest way to break your natural nails, damage the nail bed, or cause pain. Learning how to remove acrylic nails at home correctly saves you a salon visit while keeping your nails intact.
The process of how to get acrylic nails off at home requires a little patience and the right materials. There is no instant method, but there is a reliable one. If you want to know how to get rid of acrylic nails without breaking anything, the acetone soak method is the easiest way to remove acrylic nails and the one most nail professionals recommend for home use.
What You Need Before You Start
Gather your supplies before beginning. You will need 100% pure acetone (not regular nail polish remover, which is too weak), a nail file or buffer, a cuticle pusher or orangewood stick, tin foil or acetone-resistant soaking bowls, cotton balls or pads, and a nourishing oil or hand cream for after.
Why 100% Acetone Matters
Standard nail polish remover typically contains only 30% to 50% acetone along with conditioning agents. This is not strong enough to dissolve acrylic within a reasonable timeframe. Pure acetone breaks down the acrylic polymer much more efficiently. It is available at most drugstores and beauty supply stores.
Protect the Surrounding Skin
Acetone is drying. Apply a thin layer of petroleum jelly or a thick barrier cream around each nail but not on the nail itself. This limits direct contact with the surrounding skin and cuticles during the soak.
The Acetone Foil Wrap Method
This is the most reliable approach for removing acrylic nails at home.
Step 1: File Down the Surface
Use a coarse nail file to remove the top shiny layer of the acrylic. You are not trying to file all the way down to your natural nail. Removing the surface coat allows acetone to penetrate the acrylic faster and reduces soaking time.
Step 2: Soak and Wrap
Saturate a cotton ball or pad with acetone and place it directly over the nail. Wrap each finger in a small square of tin foil to hold the cotton in place and trap heat, which accelerates the dissolution process. Leave wraps on for 20 to 30 minutes.
Step 3: Remove and Gently Scrape
Remove one wrap at a time. The acrylic should appear soft, gummy, or dissolved around the edges. Use a cuticle pusher to gently slide the softened acrylic off the nail. Never force or pry. If it resists, re-wrap and soak for another 10 minutes.
The Bowl Soak Method
An alternative to foil wraps is soaking fingertips directly in a bowl of acetone. Pour acetone into a small glass bowl (avoid plastic, which acetone can dissolve) and submerge your fingertips for 20 to 30 minutes. This method works but exposes more skin to acetone and uses more product. Keep the bowl away from open flames as acetone is flammable.
Aftercare for Your Natural Nails
Once the acrylic is fully off, your natural nails may feel thin, dry, or sensitive. This is normal.
Buff Gently
Use a fine-grit buffer to smooth any remaining roughness on the nail surface. Avoid aggressive buffing, which can thin nails further.
Hydrate Thoroughly
Apply cuticle oil generously around each nail. Follow with a rich hand cream. Regular cuticle oil use over the next two to four weeks supports nail recovery and regrowth.
What to Avoid
Avoid peeling, biting, or prying any portion of the acrylic off at any stage. Even partially dissolved acrylic can pull layers off the natural nail when removed by force. Avoid filing aggressively across the nail plate, particularly near the free edge. Do not skip the aftercare step, as the combination of filing and acetone leaves nails dehydrated and prone to breakage.
Key takeaways: The acetone foil wrap method is the easiest way to remove acrylic nails at home safely. Use 100% acetone, soak fully before scraping, and hydrate thoroughly afterward. Patience during the soak prevents the nail damage that comes from forcing the process.
Leave a Reply