
Remove Acrylic Nails at Home: Safe Step-by-Step Methods
If you’re looking to remove acrylic nails at home without destroying your natural nails underneath, the most important thing to know is this: patience beats force every time. Removing acrylic nails at home by soaking is slower than ripping or prying, but it leaves your natural nails intact. Every shortcut — using leverage, picking aggressively, or rushing the soak — risks peeling off layers of your actual nail plate along with the acrylic.
The good news is that you don’t need to remove acrylic nails at the salon if you follow the right steps. How do you remove acrylic nails safely? You either soak them off with acetone or use a filing-and-soaking combination. Removing acrylic nails is a 30–60 minute process at minimum — plan accordingly and gather your supplies before you start.
What You Need Before You Start
To remove acrylic nails at home, gather these supplies:
- 100% pure acetone (not regular nail polish remover — acetone content matters)
- A glass or ceramic bowl (acetone dissolves some plastics)
- Aluminum foil or nail clips (to hold acetone-soaked cotton in place)
- Coarse nail file (100–150 grit) for filing down acrylic surface
- Orange wood stick or cuticle pusher
- Cuticle oil or petroleum jelly (to protect surrounding skin)
- Moisturizer for after removal
Method 1: The Acetone Soak-Off
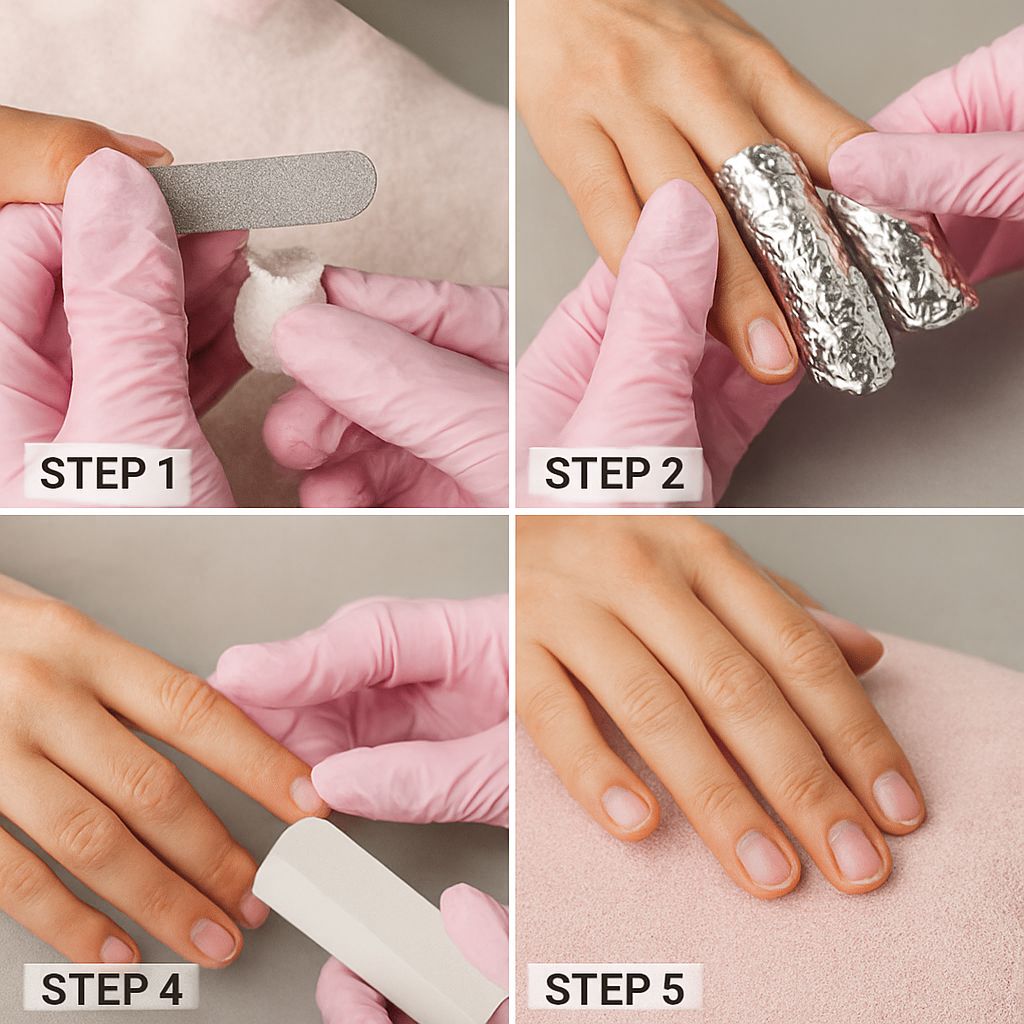
Step 1 — File Down the Surface
Using a coarse file, remove the topcoat and buff the surface of each acrylic nail. You’re not trying to remove all the acrylic — just break the seal and thin the product so acetone can penetrate faster. File in one direction to avoid heat buildup.
Step 2 — Protect Your Skin
Apply petroleum jelly or cuticle oil around each nail — on the cuticles and fingertips — to minimize acetone contact with skin. Acetone is drying and can irritate skin with prolonged exposure.
Step 3 — Soak
Pour acetone into a glass bowl and soak your fingertips for 20–30 minutes. Alternatively, soak cotton balls in acetone, place one on each nail, and wrap with small squares of foil to hold them in place. This “foil method” concentrates the acetone and often works faster.
Step 4 — Remove Softened Acrylic
After soaking, use an orange wood stick to gently push the softened acrylic off the nail. It should slide or flake away with minimal pressure. If it’s still firmly attached, soak for another 10 minutes. Removing acrylic nails by forcing them when not fully softened is how natural nail damage happens.
Step 5 — Clean Up and Hydrate
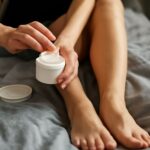
Buff away any remaining acrylic residue gently with a fine-grit buffer. Wash hands thoroughly with soap and water. Apply cuticle oil and a generous hand lotion. Your natural nails will feel thin and sensitive — avoid picking at them for a few days.
Method 2: Dental Floss Method (Quick but Risky)
This approach uses dental floss to lever acrylics off from the base. We don’t recommend it for most people — it has a high rate of nail damage. It works only if the acrylics have already significantly grown out and lifted substantially at the base. Even then, force is involved, and natural nail damage is common. Stick with acetone soaking if possible.
Caring for Natural Nails After Removal
After you remove acrylic nails, your natural nails need recovery time. Expect them to feel thin, flexible, and sensitive for 1–2 weeks. Use a nail strengthener or a keratin-based base coat to protect them while they grow out. Avoid gel or acrylic reapplication for at least 2–3 weeks if the nails look or feel damaged. Keep cuticles moisturized daily with cuticle oil to support healthy nail growth.
Safety recap: Acetone is flammable — keep it away from open flames and heat sources. Work in a ventilated area when soaking. Never force acrylic nails off if they haven’t fully softened — the damage to the natural nail plate isn’t worth the saved time.

Leave a Reply