
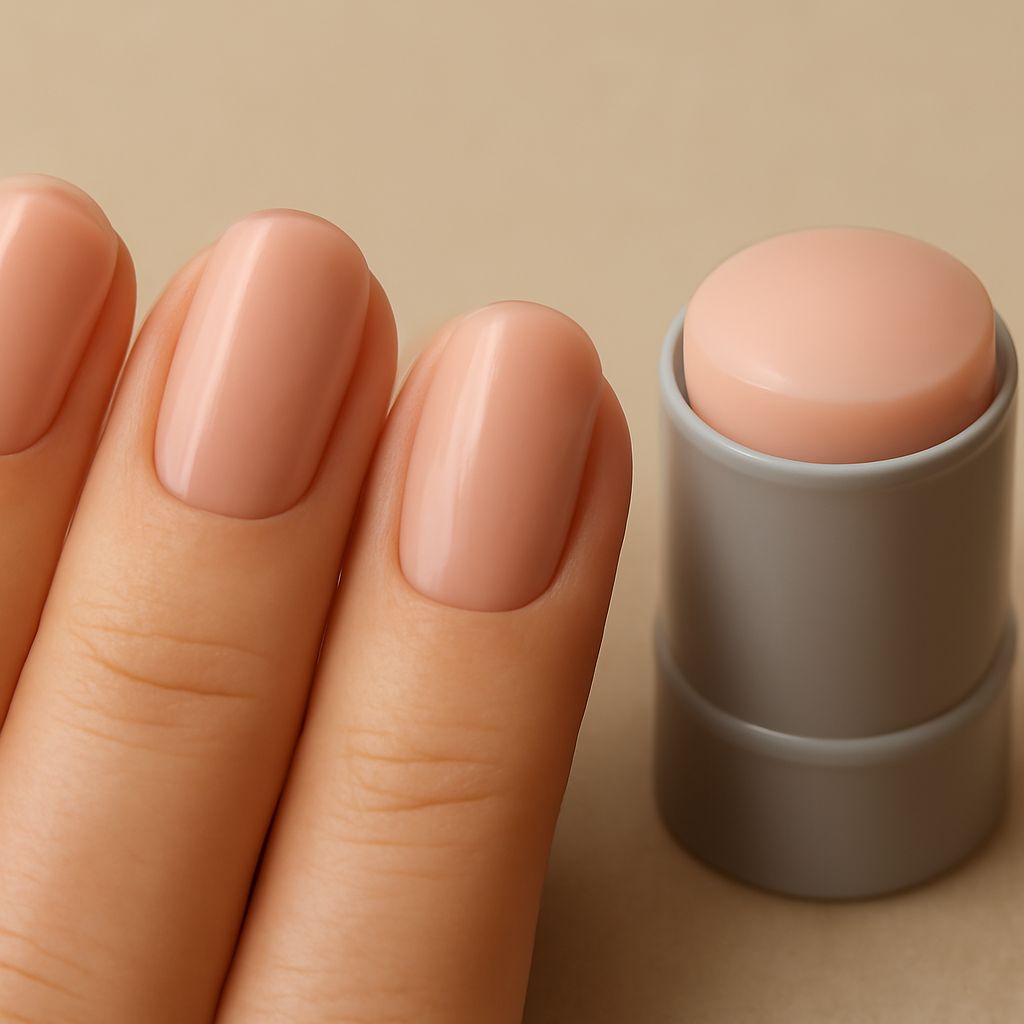
The right stamping tool for nail art depends on what you want to see and feel as you work. A clear head helps you position a small detail, while a softer head can make it easier to cover a curved nail. Your nail shape and the designs you like will guide the choice.
The tool picks up a design from an engraved plate and transfers it onto your nail. Its head, the part that touches the pattern, affects how much pressure you need and how clearly you can see the placement. A comfortable grip matters too: a tiny flower has a better chance of landing where you want it when the handle feels steady in your hand.
Nail Art Stamper Features to Compare
A nail art stamper usually has a flexible head held in a handle. Some heads are transparent, while others are opaque or colored. They also vary in diameter and firmness. Think of these features as a set: a large, very soft head may cover a wide nail easily, but you may prefer a smaller, firmer one for picking up a compact detail.
When choosing a stamper for nail designs, start with your most frequent pattern. If you like a single motif near the center of each nail, visibility and precise placement deserve attention. If you prefer a pattern across the whole nail, check that the head is wide enough to carry the image and flexible enough to meet the sides.
Nail stampers come in different shapes and sizes, so compare the usable surface as well as the overall handle. A wide-looking holder may contain a smaller contact area. A product description or an in-person look can help you see whether the head suits the length and width you want to cover.
Soft or Firm: What Changes?
A soft, squishy head can mold around a curved nail with a light touch. That makes it appealing when you want a pattern to reach from one side to the other. It also means the head can deform if you press hard, stretching a straight line or blurring fine details.
A firmer head holds its shape more readily. You may find it easier to control a small motif, but you might need to roll it gently across a curved nail to reach both edges. The right pressure is often lighter than you expect. Let the surface meet the nail instead of flattening it like a rubber stamp on paper.
If you can handle the tool before buying, lightly touch the head with a clean finger. Notice how it yields and springs back. Compare the feel of the handle too: you should be able to hold it securely without squeezing the head itself. If you are shopping online, look for a description of firmness and head size, then use those details to narrow your choice.
The best nail stamper for a beginner is one that feels easy to control on their own nails. Someone with a pronounced curve may prefer a forgiving head; someone placing small designs may value a little more firmness. Neither feature needs to win in every situation.
Clear Views and Confident Placement
A clear nail stamper lets you look through the head as you lower the image. This view is especially helpful for placing a small accent, lining up a tip design, or adding a second layer over a first. Check that you can see through both the handle and the head from the angle at which you naturally hold it.
An opaque head hides the image as it approaches the nail, so placement relies more on the angle of your hand and the point where the head first touches. It can still be a comfortable choice for a repeating pattern where exact centering matters less. Some colored heads also make a pale image easier to see before transfer.
Look at the shape of the opening in the handle. Can you bring your eye close enough to see the whole design? Does the rim obstruct your view? A clear head is most helpful when the rest of the tool lets you use that view comfortably.
Make a First Test and Care for the Head
Try a simple design before judging a new tool. Apply a small amount of stamping polish to the engraved plate, scrape away the excess, and pick up the image with a light motion. Transfer it to a practice surface or prepared nail. Pay attention to whether the head reaches the edges and whether the lines keep their shape.
If the image stretches, try less pressure. If an edge fails to transfer, adjust the angle or use a gentle roll. A pickup problem can also come from the plate, polish, or timing, so change one thing at a time before deciding the head is at fault. Practice gives your hand a useful memory of the pressure.
Remove leftover polish from the head with adhesive tape or a lint roller, lifting it gently from the surface. Follow the maker’s cleaning instructions, especially for clear heads. Keep the tool covered when clean, away from dust and sharp objects, and avoid scraping or filing its surface unless its instructions specifically call for preparation.
Choose the head that lets you place your favorite design with the least adjustment on your own nail shape.

Leave a Reply